Event Page Details
When you click on an event tile, it will load the page for that event with all the details for the event:
Here you can find all the information about this event. This is also where you can purchase tickets and check into the event when it comes time.
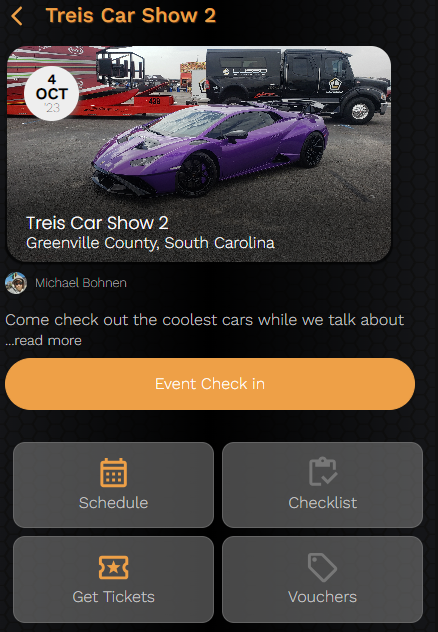
You can also find information about all the Vehicles, Teams, and Retailers that are checked into the event as well!

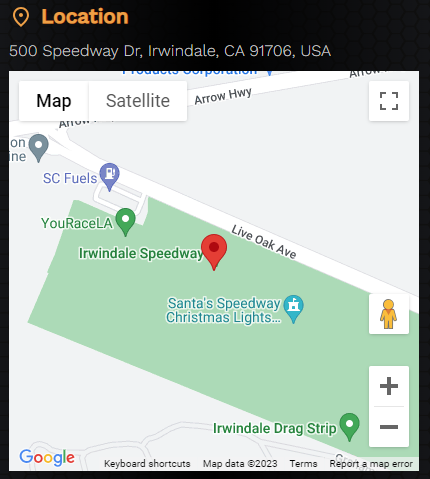
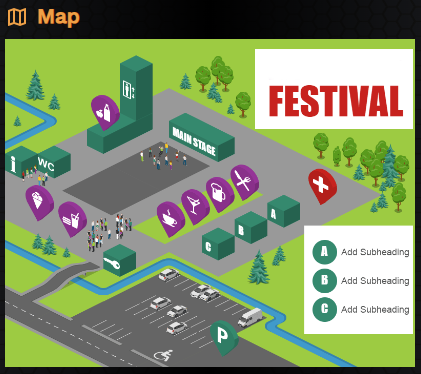
Additionally, you’ll find information about the event’s location as well as any custom event map for the event:
General Information
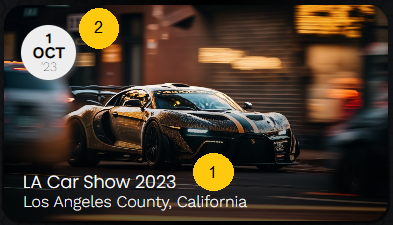
1. This shows the full Event Title and general location of where the event is (according to Google):
2. This is the date the event starts:
Event Description
1. Click the Read More link to show the full event description and details:

2. This shows the creator of the event. Click on the name to visit the creator’s garage if desired:
3. This is the full Event Description to tell you all about the event:
4. These are the Start and End date/times of the event:
5. These are the linked social media accounts for the event. Clicking them will take you to the account’s profile:

6. Click the Show Less link to collapse the event description information:

Event Schedule
1. Click on the Schedule button to display the event’s schedule:

2. All scheduled activities will be listed with the time and location of each:

3. Schedule can be searched by entering any keywords into the Search box:

Get Tickets
1. Click on the Get Tickets button to display the ticket purchasing screen:

2. Expand out the different ticket groupings to see the different options available and related pricing:
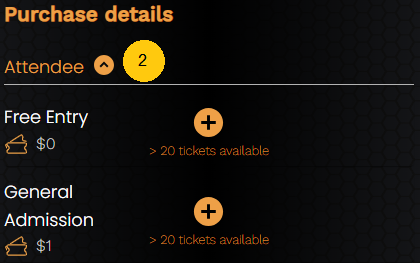
3. Use the + and – buttons to select the quantity of tickets you would like to purchase (limit 10 at a time):
The totals for each ticket type and overall order total will be automatically calculated based on your selection.
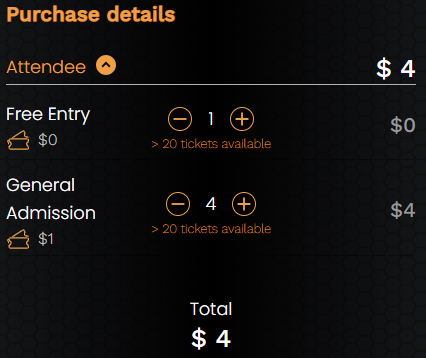
4. After selecting the tickets desired press the Buy Tickets button to proceed to payment processing:

5. Complete the Stripe payment processing via the Stripe portal:
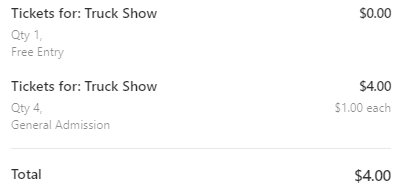
6. You will receive a confirmation message upon successful payment:

Event Check In
Starting 48 hours before the start of the event and running until the end of the event, the event page will show the Event Check In button.
1. Click the button to display the Event Check In screen:

2. If you don’t previously have tickets purchased for the event, you will be redirected to the Get Tickets screen:

3. Select the ticket type you are attempting to check in with (if you have multiple):
- Online = Self-check in to the event
- Gated = Must present ticket for entry

4. If Online (self) check in, simply select the number of tickets you are checking in and press the Proceed button:

5. If Gated check in, select the number of tickets you would like to check in and press the Proceed button.
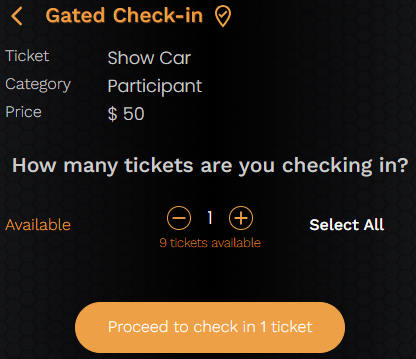
6. If Gated check in, you will then be shown the ticket QR code to present to the gatekeeper. The application will wait for the ticket to be scanned/accepted and automatically progress once finalized.
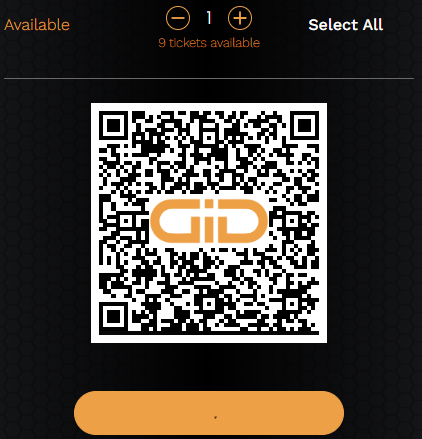
7. You will receive a confirmation message upon successful check in:

8. Your tickets will now show checked in status on the check in screens:
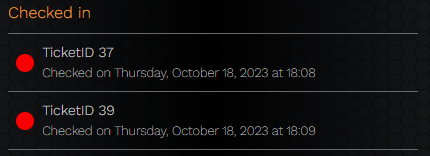
Event Map
If the event organizer has uploaded a custom event map, it will be displayed:

Location Map
If the event organizer has provided the address of the event, the address and Google Map of the location will be shown:


